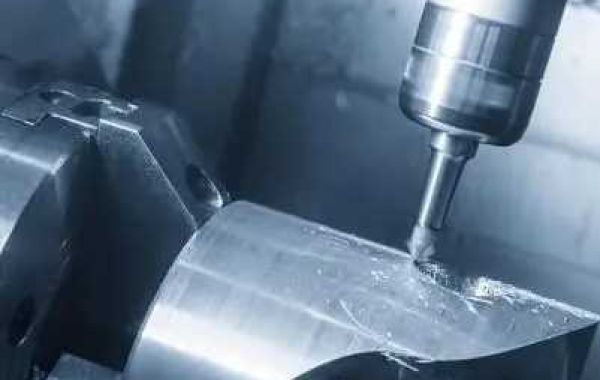
The dimensional accuracy of CNC milling brass and copper parts depends on a number of factors, which must be carefully taken into account from tool setup and selection to the final inspection. Here are some key steps to achieve precise dimensional accuracy:
- Machine Tool Calibration: Regular calibration of the CNC machine will ensure that all of its axes and components are working correctly and within the specified tolerances. Examining spindle runout, backlash, and linear and rotational accuracy is necessary for this.
- Tool Selection and Setup: Use high-quality cutting tools designed specifically for milling copper and brass. Select tools with the proper geometry, coatings, and sharpness to minimize tool wear and maintain consistent cutting performance. Make sure the tool alignment and offsets are set correctly to prevent part dimension errors.
- Machining Parameters Optimization: To lessen chatter, material buildup, and tool deflection, optimize the cutting parameters, such as feed rate, depth of cut, and cutting speed. The specific material, tool geometry, and desired degree of surface finish should all be taken into consideration when adjusting these settings.
- Workholding and Fixturing: To prevent the workpiece from moving or vibrating during machining, use secure and stable workholding fixtures. Appropriate fixturing prevents inaccurate dimensional measurements and guarantees consistent machining.
- Toolpath Optimization: Optimize toolpaths to avoid high tool engagement, sharp turns, and sudden changes in direction. Smooth and efficient toolpaths reduce chatter, reduce tool wear, and enhance dimensional accuracy.
- Temperature Control: To minimize thermal expansion and contraction, it's critical to maintain a steady temperature for the workpiece and machine parts during the machining process. This can be accomplished in part by stabilizing the machine, managing the surroundings, and correctly adding coolant.
- Tool Wear Monitoring: It is crucial to frequently check tool wear and replace worn-out tools as soon as possible in order to guarantee consistent cutting performance and prevent dimensional errors. Worn tools can cause overcutting, undercutting, and inaccurate part dimensions.
- In-Process Inspection: Conduct in-process inspections during the machining process to identify and address any potential dimensional deviations. This allows for adjustments to be made before the part is completed.
- Final Inspection: Conduct a thorough final inspection using the proper measuring tools to confirm the machined part's dimensional accuracy in relation to the given tolerances.
- Machine Maintenance: Preventive maintenance should be carried out on a regular basis to ensure that every component of the CNC machine is functioning correctly and within specified tolerances. This means checking for alignment issues, wear, and lubrication.
These procedures will assist you in reliably producing copper and brass CNC milling parts that satisfy your application's requirements and the requisite dimensional accuracy. Maintaining a stringent quality control procedure is also advised.


