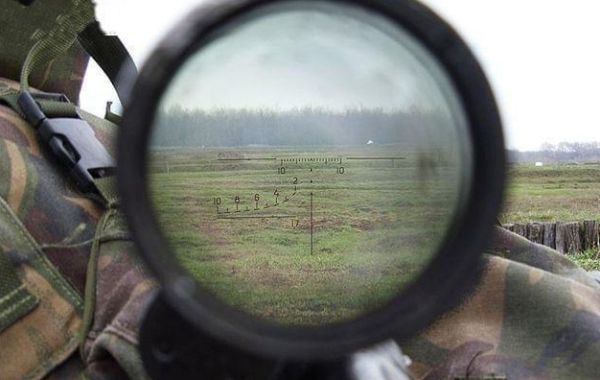
1. Mount the Scope
Before making any adjustments, it's crucial to ensure that the scope is properly mounted on the rifle. Proper mounting is crucial, as any misalignment will affect all subsequent adjustments.
Steps to Mount the Scope:
(1) Choose the Right Mount: Ensure you have the correct base and rings for your rifle.
(2) Level the Rifle: Place the rifle on a stable surface or use a gun vise to keep it steady and level.
(3) Install the Scope: Secure the scope ring onto the scope and attach it to the base, making sure to align the scope with the rifle's barrel.
(4) Tighten the Ring Screws: To prevent misalignment, evenly tighten the ring screws.
2. Set a Zero
The next step is to zero the rifle scope, ensuring that the bullet's impact point aligns with the aiming point at a specific distance.
(1) Choose a Distance: The standard zeroing distance for most rifles is 100 yards, while rimfire and air rifles are typically zeroed at 25 yards.
(2) Use a Solid Rest: Utilize a bipod, sandbags, or a shooting rest to stabilize your rifle.
(3) Shooting Test: Fire 3-5 shots at the target, focusing on the group rather than individual impacts.
(4) Measure the Error: Evaluate the deviation of your shots from the target's center, measuring both horizontal (windage) and vertical (elevation) distances).
3. Adjust Windage Elevation
After shooting and measuring the errors, it's time to adjust the windage and elevation settings to achieve zero.
Elevation Adjustment: If your shots are hitting low, adjust the elevation knob upward. If they are hitting high, adjust it downward. Typically, one click on the elevation knob equals 1/4 MOA, or approximately 1/4 inch at 100 yards.
Windage Adjustment: To align horizontally, if your shots land left, turn the windage knob to the right; if they land right, turn it to the left. Like elevation, one click usually corresponds to 1/4 MOA.
4. Fine-Tuning Zero
After making your initial adjustments, fire another group of shots to confirm the changes. Repeat the measurement and adjustment process until your shots consistently hit the center of the target.
5. Adjust for Parallax
If your scope features parallax adjustment, fine-tune it to ensure the reticle remains aligned with the target at various distances.
Adjust the Eyepiece: Look through the scope and adjust the eyepiece until the reticle appears sharp.
Adjust Parallax: Utilize the side or objective parallax adjustment to eliminate any reticle shift caused by slight head movements, ensuring accuracy across different ranges.
6. Record Settings and Maintain Shooting Positions
After adjusting settings such as windage and elevation, document these changes for future reference in case they need to be reset. Additionally, maintaining a consistent shooting position is crucial for achieving accurate results.


