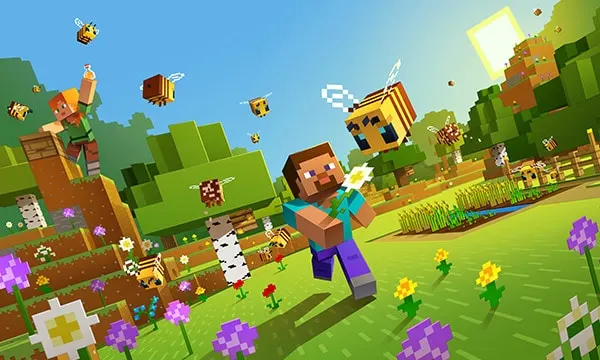
Mods are an incredibly huge part of Minecraft. From different skins to texture packs to a complete overhaul of visuals, mods can completely change the player experience. It’s a wild world of things you can do and can take you a long time to sift through everything possible with these tools. Here’s how to install mods for Minecraft Education Edition.
How to Install Mods for Minecraft Education Edition
So it’s important to note that “Mods” are not what can be installed in the Education Edition. Add-ons can be, which are essentially the same thing for all intents and purposes. The difference between them is minor. The best way to think about it is that mods can change much more about the way the game interacts with itself while add-ons are more cosmetic-based.
You can get add-ons from various websites. Once you have the addons downloaded that you want to use, simply click on the import button found inside the Minecraft Education Edition. This will open a window; from here, find where you downloaded the mods be that your downloads folder or desktop.
Now, click on them, hit the “OK” button, and now they will be in the game to use. They can be skins for your player, enemies, and more. It could also be special textures for different blocks.
Feel free to check out different sites to find the add-ons that work best for you. There’s a whole new world out there filled with different exciting and interesting cosmetics to change the Minecraft experience.
For more game guides, please pay attention to our Facebook, Pinterest, Game Blog, Twitter, Youtube.


