To collect and analyze fluorescence microscopy images, you can follow these steps:
- Prepare the sample: To correctly use fluorescence microscopy, the sample must be properly prepared. Fixing, permeating, and staining the object with fluorescent dyes are all part of this.
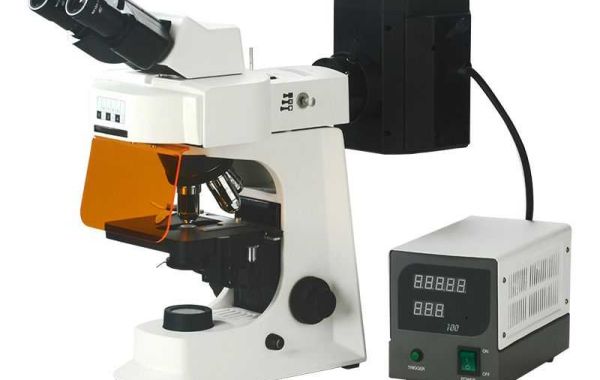
- Establish the microscope: The microscope must be set up properly for fluorescence microscopy. This includes selecting the appropriate filters and light sources.
- Collect the images: The photos can be gathered by photographing the sample repeatedly.
- Analyze the images: The images can be analyzed using software to identify and quantify the fluorescent signal.
Here are some additional considerations when collecting and analyzing fluorescence microscopy images:
- The sort of fluorescent dye employed can have an impact on the pictures' quality. Some dyes are less prone to fade over time than others because they are more photostable.
- The amount of fluorescent dye used can also impact how well the photographs are captured. It may be challenging to discern the details if the sample is excessively bright due to a dye concentration that is too high.
- The quality of the results can also be impacted by the image analysis software. Software programs vary in their level of power.
- Use a top-notch microscope with good sensitivity and resolution.
- To prevent variations in the fluorescent signal, use a steady light source.
By taking into account these factors, you may gather and evaluate fluorescence microscopy images of the greatest caliber, which can then be used to produce reliable results.